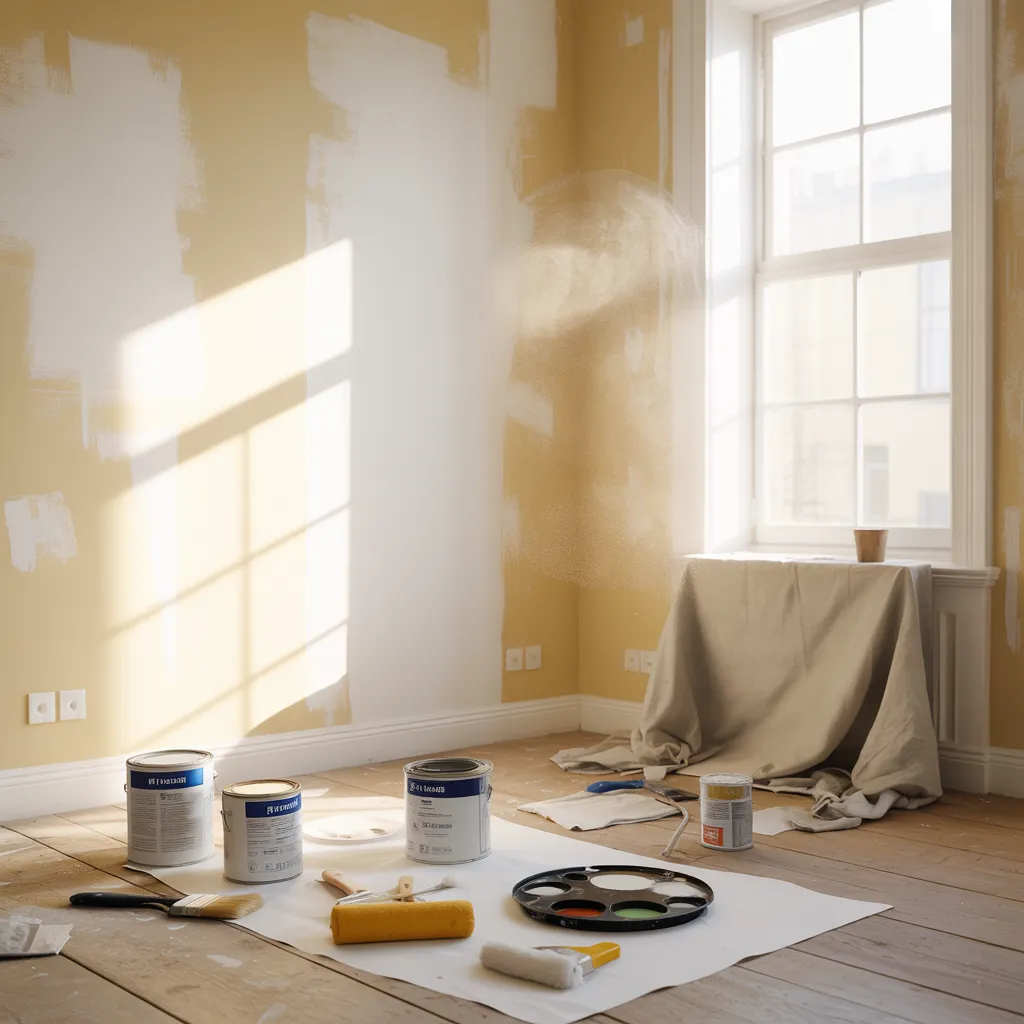
Professional painters will tell you straight: the secret to a beautiful paint job isn’t fancy technique—it’s what you do before the brush ever touches the wall.
About 80% of your success happens during preparation, and it’s where most DIYers stumble. Here’s what matters: You need to repair damage (fill holes, sand down rough spots, address cracks), sand the existing surface, and apply primer.
It sounds tedious because it is, but skipping these steps is why so many homemade paint jobs look unfinished. When you sand properly, you’re creating microscopic texture that helps new paint grip the surface.
When you repair wall damage, you’re eliminating bumps and divots that’d show through your new finish.
And primer? That’s your insurance policy—it seals stains, evens out how porous your wall is, and ensures your color looks true. The payoff is worth it: a smooth foundation means paint adheres properly, covers evenly, and actually lasts.
Common Painting Mistakes (And Easy Fixes)
Even with great prep work, application technique can undo all your hard work. Here’s what trips people up:
- Applying Too Much Paint Per Coat: Thicker isn’t better—it’s actually the opposite. Overloading your brush or roller causes drips, sagging, and uneven coverage. Thinner coats dry faster and look smoother. Aim for 2-3 thin coats rather than one thick one.
- Skimping on Paint Quality: Budget paint has fewer solids and weaker binders, so it covers poorly, fades quickly, and doesn’t hold up. Mid-range paint almost always delivers better results and better durability per dollar.
- Getting Painter’s Tape Timing Wrong: Apply tape too early and paint seeps underneath. Leave it on too long and it tears fresh paint when you remove it. Apply just before you paint, remove it while the paint’s still slightly tacky.
- Not Maintaining a Wet Edge: This creates lap marks—those visible lines where wet paint meets dried paint. The fix? Work in manageable sections and stay organized so you’re always blending wet edges together.

Yes, You Can Paint Over Wallpaper (Sometimes)
If you’re staring at wallpaper-covered walls and dreading removal, there’s good news: pros have developed methods for painting directly over it—but only if conditions are right.
- When It Actually Works: The wallpaper must be completely stuck down (no bubbling, peeling, or separation), and your walls need to be flat and structurally sound. Loose wallpaper will bubble and peel under paint, ruining your finish.
- The Right Preparation: This isn’t a shortcut where you skip steps. Use a primer specifically formulated for challenging surfaces—it blocks wallpaper patterns from showing through and creates proper paint adhesion. Quality primer does the heavy lifting here.
- When to Just Remove It: If your wallpaper is peeling, damaged, or you’re unsure about adhesion, removal is the safer choice. A few hours removing wallpaper beats months looking at a failed paint job.

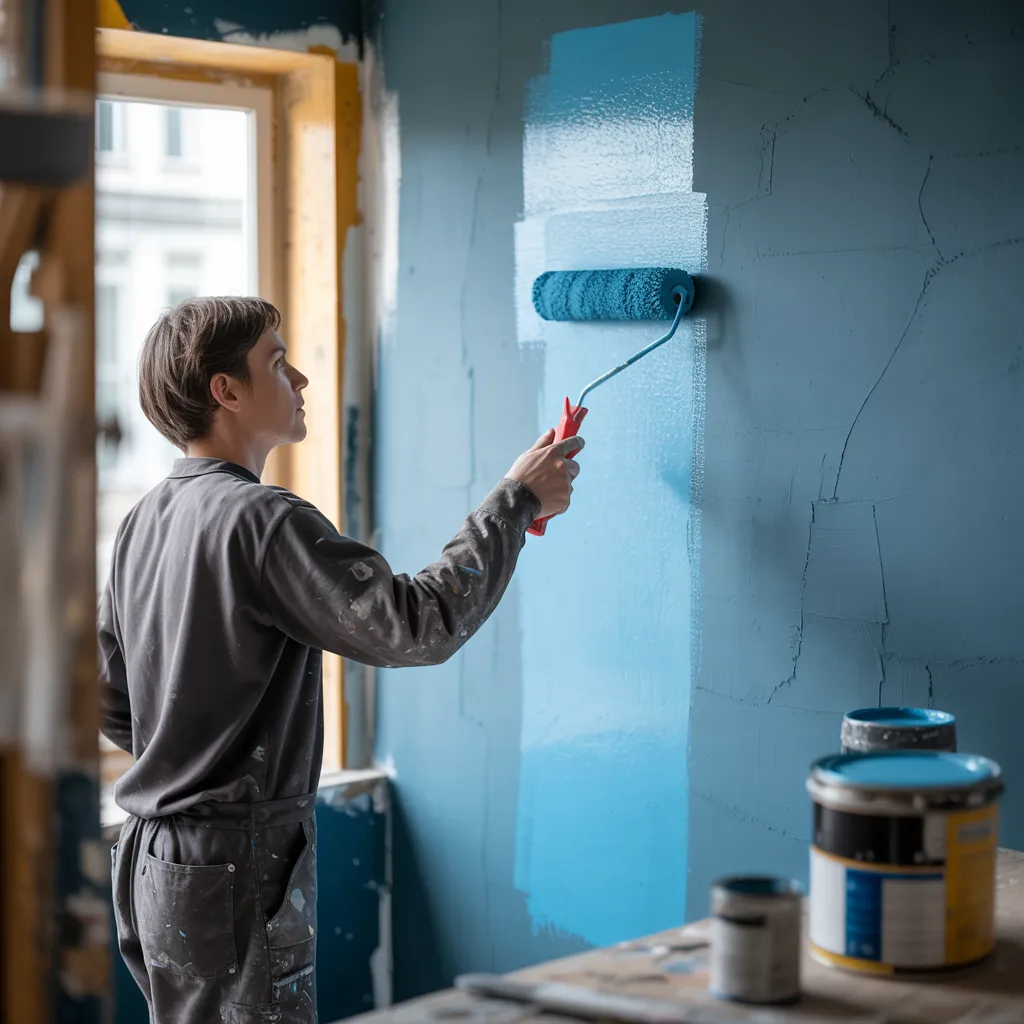
The Pro Technique That Actually Changes Everything
Here’s something that seems backward but works: Professional painters roll the main wall surface first, then cut in edges and trim afterward.
This counterintuitive sequencing produces better results because it helps you maintain a “wet edge”—that continuous blend of wet paint that prevents lap marks (those ugly lines between sections). When you cut in first, your brush edges dry before the roller reaches them, creating visible lines.
- How to Do It: Roll your main wall areas in manageable sections. Work quickly enough that your wet edges stay wet. Then cut in around trim, edges, and ceiling. This timing makes blending smooth and natural.
- Why It Matters: These connected techniques—proper sequencing, wet edge maintenance, and precise timing—are literally what separates amateur results from professional-looking finishes. It’s not magic; it’s just physics and organization.

Realistic Timeline: How Long This Really Takes
One of the biggest reasons painting projects frustrate people is unrealistic expectations. A modest bedroom typically takes 4-6 hours total (prep, painting, tape removal), assuming minimal wall damage and straightforward conditions.
- How Time Actually Breaks Down: About 40% goes to solid preparation, 40% to actual painting, and the remaining 20% to drying time between coats, cleanup, and touchups. Drying between coats usually takes 2-4 hours depending on your paint type, humidity, and air circulation.
- Variables That Affect Duration: Damaged walls, textured surfaces, primer requirement, and room complexity all add time. Multiple colors or intricate trim work extends your timeline. Humid conditions or poor ventilation mean longer drying.
- Set Yourself Up for Success: Plan for a full day minimum for a bedroom-sized space. If you’re tackling something larger, break it into manageable chunks rather than rushing. You’ll enjoy better results and actually finish feeling accomplished rather than exhausted.