
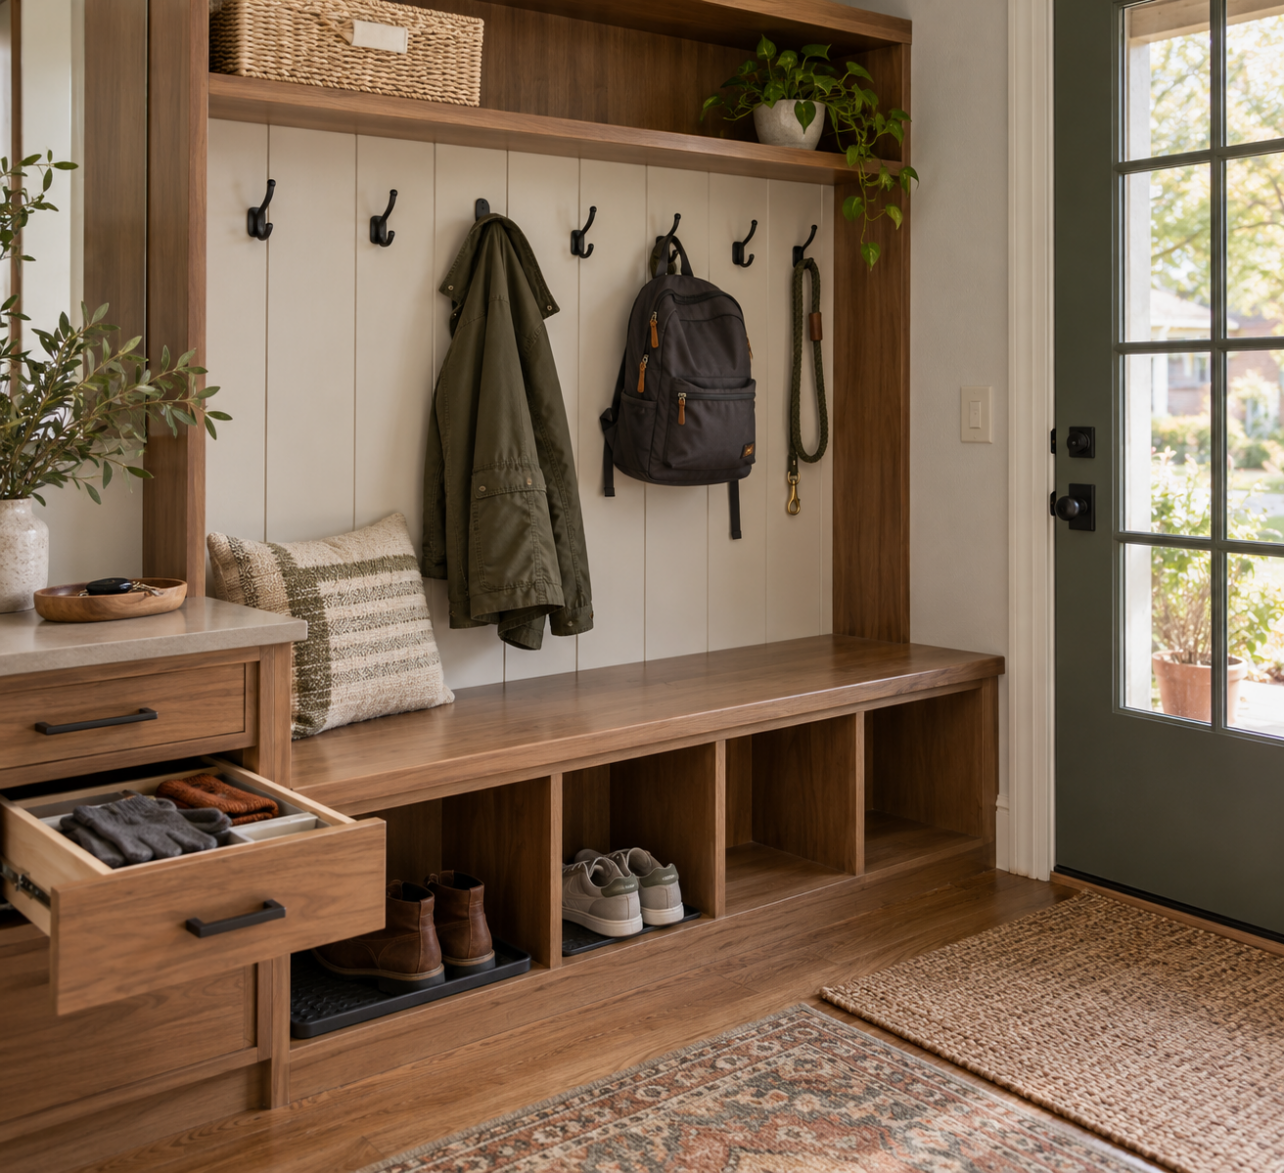
An entryway has to absorb a surprising amount of daily clutter. Shoes arrive wet or dusty, coats need somewhere to hang, and keys, bags, umbrellas, and pet supplies often end up on the nearest available surface. When storage does not match those routines, even a carefully decorated entrance can quickly feel disorderly.
A hall tree can consolidate several functions into one piece: hanging storage, a bench, drawers or cubbies, and an upper shelf. Building one yourself also allows you to adjust the proportions and storage mix to your household. However, a successful project requires more than assembling a cabinet and adding hooks. The design must fit the room, support its expected loads, remain stable, and preserve safe access through the entryway.
The following guidance explains how to plan a custom hall tree. It is not a construction plan or cut list; final dimensions, material thicknesses, joinery, hardware, and anchoring details must be determined for the specific design.
Start With the Entryway, Not the Furniture
Before choosing materials, record how the space is used for at least a few days. Note which belongings accumulate near the door, who uses them, and where the current setup fails.
A household with children may need low hooks and open shoe compartments. Someone who commutes by bicycle may need space for a helmet, reflective gear, and a backpack. In a rainy climate, washable trays and ventilation may matter more than drawers. A household that removes shoes at the door may get more value from a comfortable bench than from a tall display shelf.
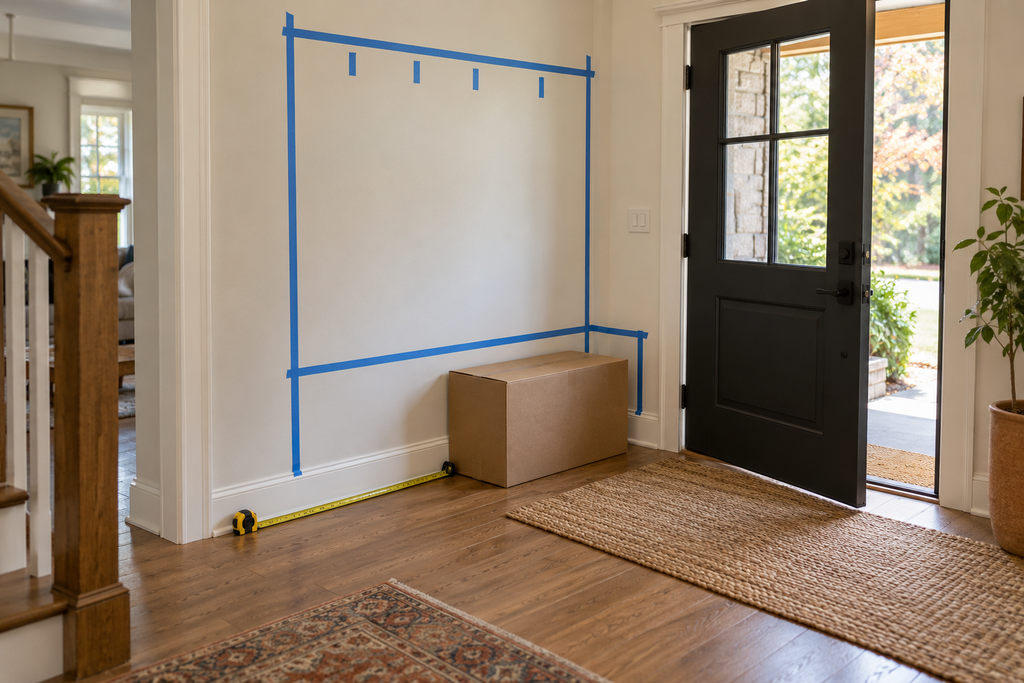
Measure the available wall width, ceiling height, baseboard depth, and distance from the wall to the open door. Check nearby switches, receptacles, vents, windows, alarms, and trim. The finished unit should not interfere with a door swing, block required equipment, or narrow the route through the room to an uncomfortable or unsafe degree.
Use painter’s tape to mark the proposed width and height on the wall. A cardboard box or temporary stool can help simulate the depth of the bench. This simple mock-up often reveals problems that are easy to miss in a drawing, such as hooks protruding into the walking path or a seat that prevents a closet door from opening fully.
Choose Storage That Matches Real Habits
A useful hall tree gives frequently used items the easiest-to-reach locations.
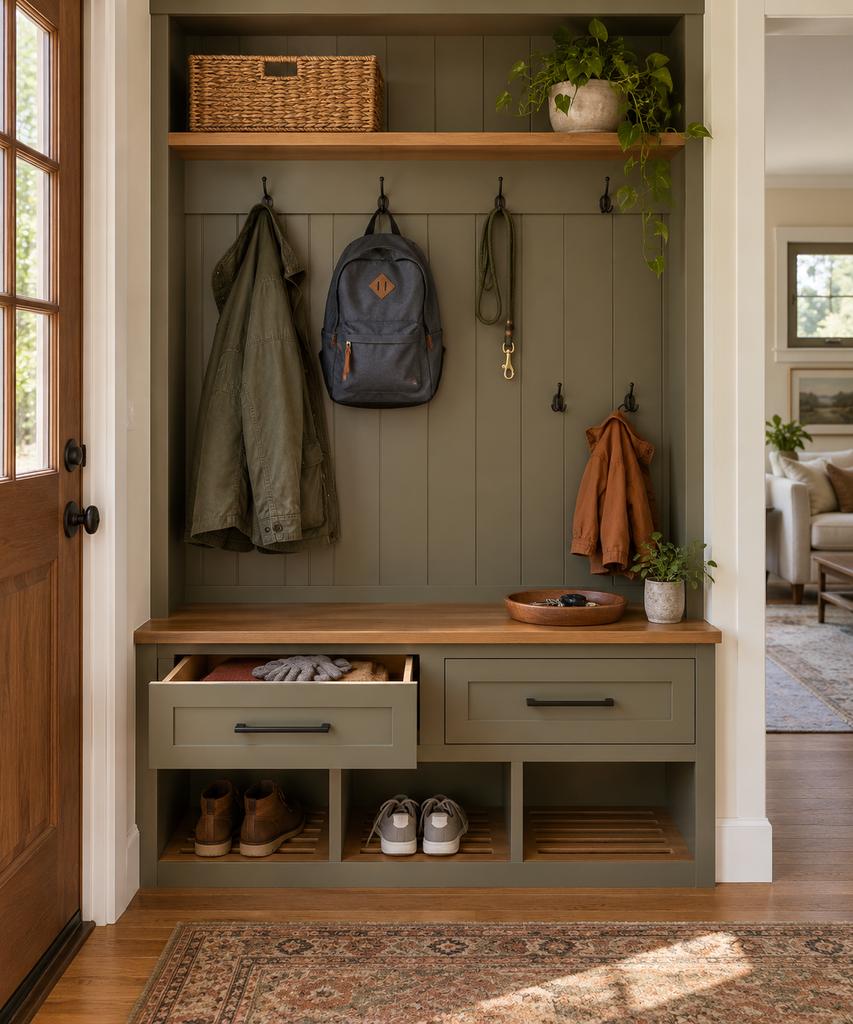
Hooks work well for everyday coats, bags, and dog leashes, but their number and spacing should reflect the bulk of those items. Closely packed hooks may look efficient when empty yet become difficult to use once winter coats are added. Hooks intended for children should be placed at a height they can reach without climbing on the bench.
Drawers are better suited to small objects such as gloves, sunglasses, keys, and reusable shopping bags. Open cubbies make shoes easy to put away, while doors conceal visual clutter but add hardware, clearance, and construction complexity. Baskets can provide a lower-cost alternative to custom drawers, although their dimensions should be selected before the cubbies are built.
An upper shelf can hold less frequently used items, but avoid turning it into storage for heavy objects that are difficult to retrieve safely. Baskets placed overhead should be light enough to handle comfortably and should not be positioned where they can fall onto someone using the bench.
Historical hall trees often combined coat, hat, and umbrella storage. A collection record from the Historic Columbia Foundation identifies the form as particularly common during the Victorian era. A modern version can retain that consolidated function without copying the elaborate proportions or ornament of an antique piece.
Decide Whether the Project Fits Your Skills
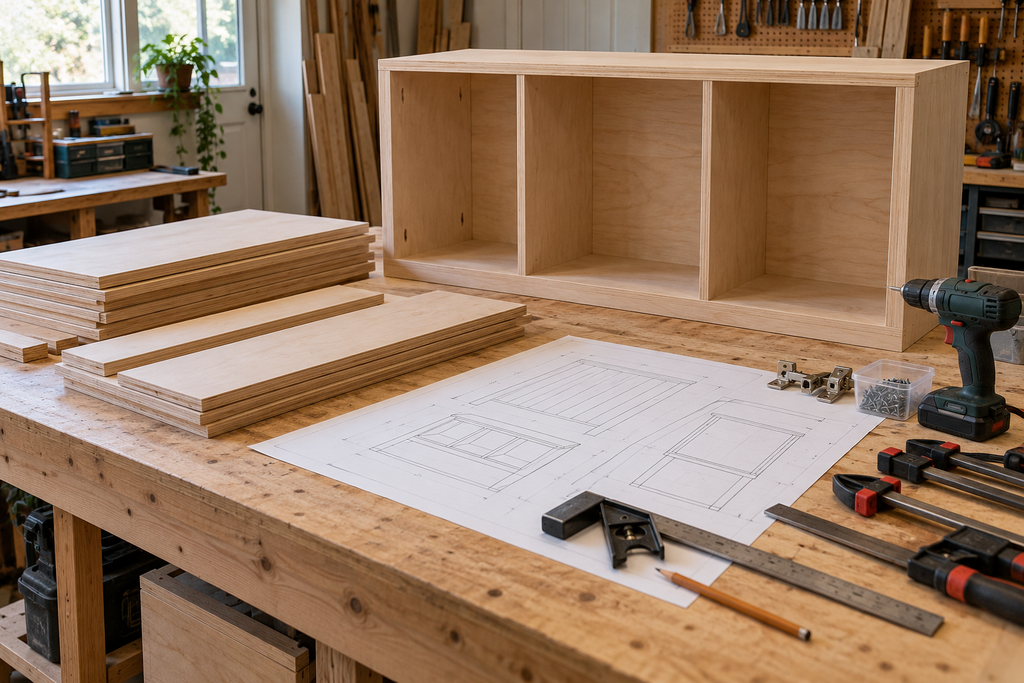
The original concept combines a bench cabinet, drawers, doors, a tall storage cabinet, a slatted back, trim, feet, hooks, and an upper shelf. That is an intermediate-to-advanced woodworking project, especially when inset or precisely aligned fronts and concealed hardware are involved.
A capable builder will need a dimensioned drawing and a complete materials list before cutting begins. The plan should specify:
- Overall width, height, and depth
- Plywood and solid-wood thicknesses
- Cabinet and shelf spans
- Joinery and fastener locations
- Drawer-slide and hinge requirements
- Hook positions and expected loads
- Bench support and load assumptions
- Back-panel or anti-racking construction
- Wall-anchoring locations and compatible fasteners
Without those details, it is not possible to determine whether dados, screws, bolts, or other connections are adequate. Decorative trim and slats should be added only after the primary structure has been designed to resist sitting loads, side-to-side movement, and the leverage created by loaded hooks.
Beginners can simplify the project by building a sturdy bench with open cubbies and adding a separately secured wall panel with hooks. Eliminating drawers, doors, curved routing, angled feet, and mitered trim reduces both the tool requirements and the number of alignment problems.
Select Materials for Performance and Appearance
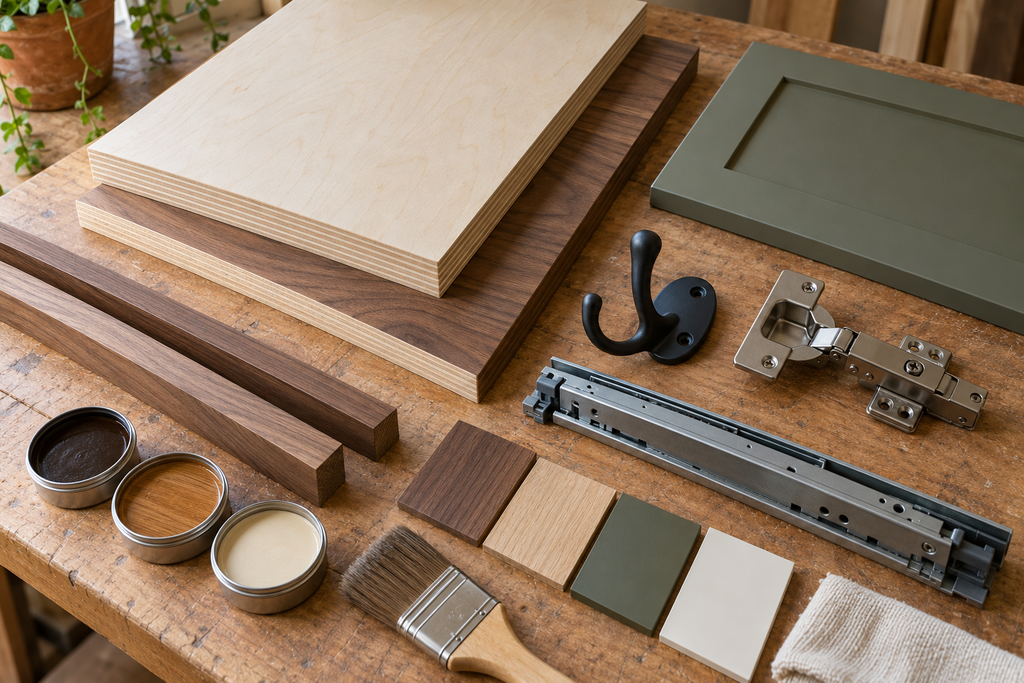
Furniture-grade plywood is a practical choice for cabinet boxes because it is available in large, consistent panels. The appropriate species, grade, veneer, core, and thickness depend on the design, finish, unsupported spans, and expected loads. “Walnut plywood” and “birch plywood” are broad descriptions rather than structural specifications, so they should not be substituted for a complete material schedule.
Exposed plywood edges can be covered with solid-wood edging, veneer tape, or applied trim. Solid wood may be useful for face frames, edging, slats, and other visible components, but wood movement must be considered when wide solid boards are attached to dimensionally different sheet materials.
Entryway surfaces encounter wet clothing, dirty shoes, grit, and frequent handling. Choose a finish whose manufacturer identifies it as suitable for the selected wood and intended use. Follow the stated preparation, ventilation, application, drying, and curing instructions. “Dry to the touch” does not necessarily mean a finish is ready for normal service.
A contrasting painted front can lighten the appearance of a large unit, but white is not universally appropriate. Mid-tone or darker finishes may better disguise scuffs in a busy household. Satin or other readily cleanable sheens are often practical, provided the coating is compatible with the substrate and primer.
Hardware should be selected by specification, not by labels such as “European” or “professional grade.” Confirm the required cabinet configuration, door thickness, overlay or inset arrangement, drawer dimensions, load rating, adjustment range, and installation clearances. Use the hardware manufacturer’s drilling pattern and instructions.
Plan a Bench for the People Who Will Use It
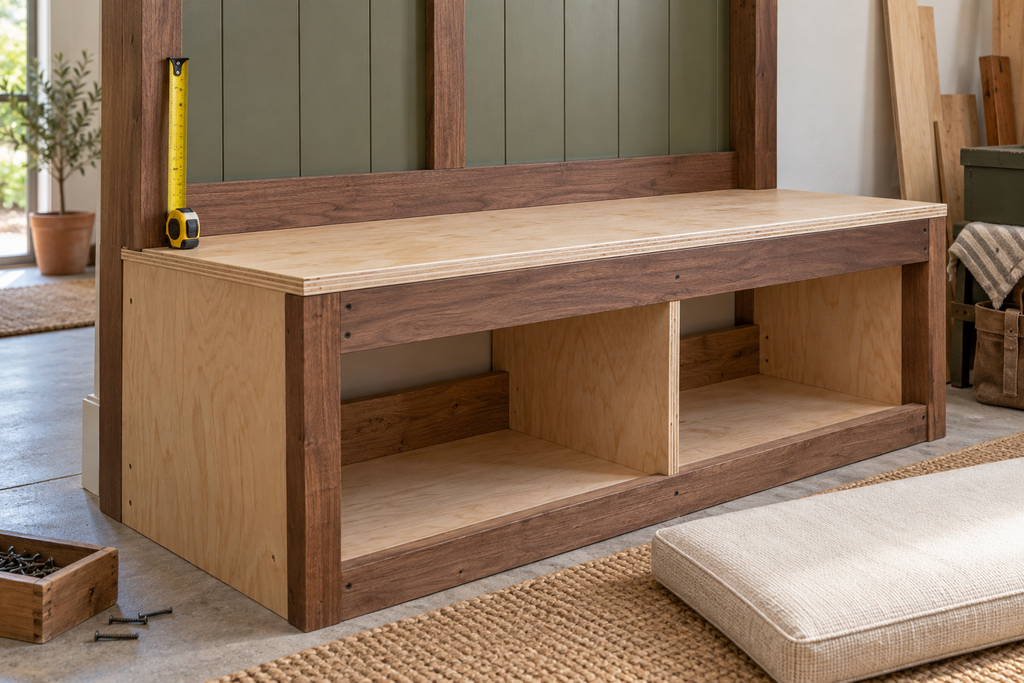
A bench should be comfortable for putting on shoes while remaining structurally sound. Rather than treating one residential dimension as universal, test a proposed height with the intended users and account for the thickness of any cushion.
For context, the U.S. Access Board’s standards specify a seat height of 17 to 19 inches for benches that are required to be accessible, along with additional dimensional, clear-space, back-support, and structural provisions. Those requirements do not automatically apply to every bench in a private home, but they demonstrate why seat height should not be considered in isolation. Consult the applicable accessibility standards and local authority when the project is part of a regulated or accessibility-sensitive space.
The bench structure must be designed for people, not merely for storage bins. Do not assume that a cabinet box, decorative feet, or a plywood top can safely carry a seated load without checking the material, span, joints, fasteners, and support arrangement. If the design cannot be evaluated confidently, have an experienced cabinetmaker or other qualified professional review it.
Build Safely and Verify Each Stage
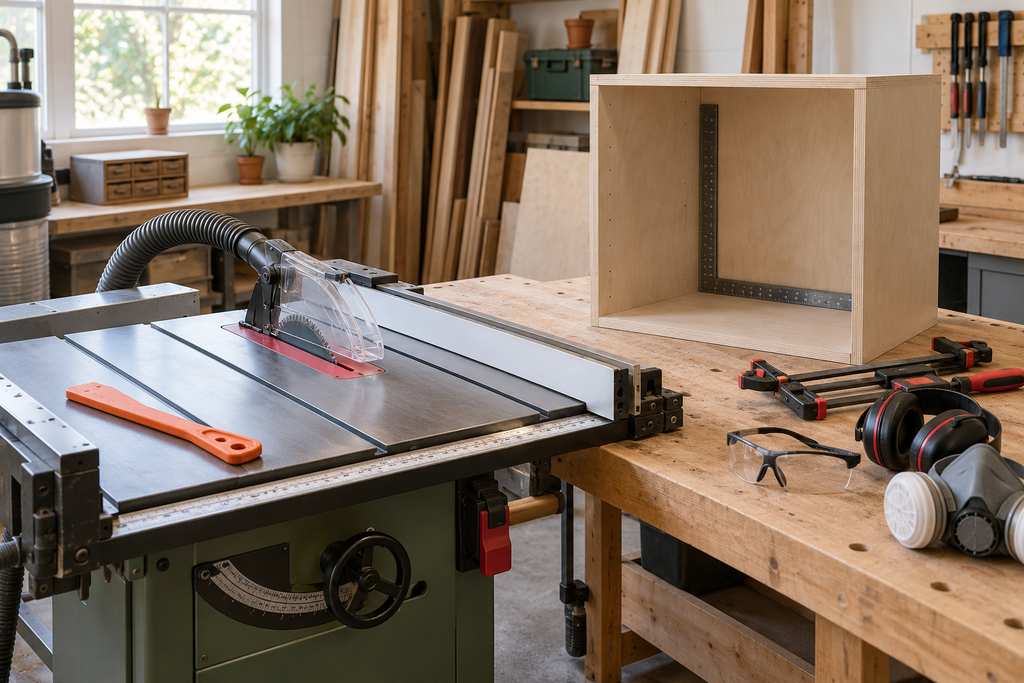
A table saw can produce accurate cabinet parts, but accuracy alone is not a reason for an inexperienced person to use one. Woodworking machinery can cause severe injuries when it is used improperly or without functioning guards. The Occupational Safety and Health Administration’s woodworking guidance identifies machine guarding, flying material, wood dust, and finishing chemicals among the relevant hazards.
Use each tool only after reading its manual and receiving appropriate instruction. Keep the blade guard, riving knife, fence, dust collection, and other safety features installed and functioning as directed. Wear suitable eye and hearing protection, control dust at its source, and work in an adequately ventilated area. The National Institute for Occupational Safety and Health identifies inhalation and eye or skin contact as exposure routes for wood dust.
Dry-fit major components before applying glue. Check cabinet boxes for square by comparing their diagonal measurements, and verify drawer and door openings against the actual hardware requirements. Assemble and finish manageable sections before installation when practical, but anticipate the weight and safe handling of each section. Large components may require two or more people to move.
Treat Wall Anchoring as Essential
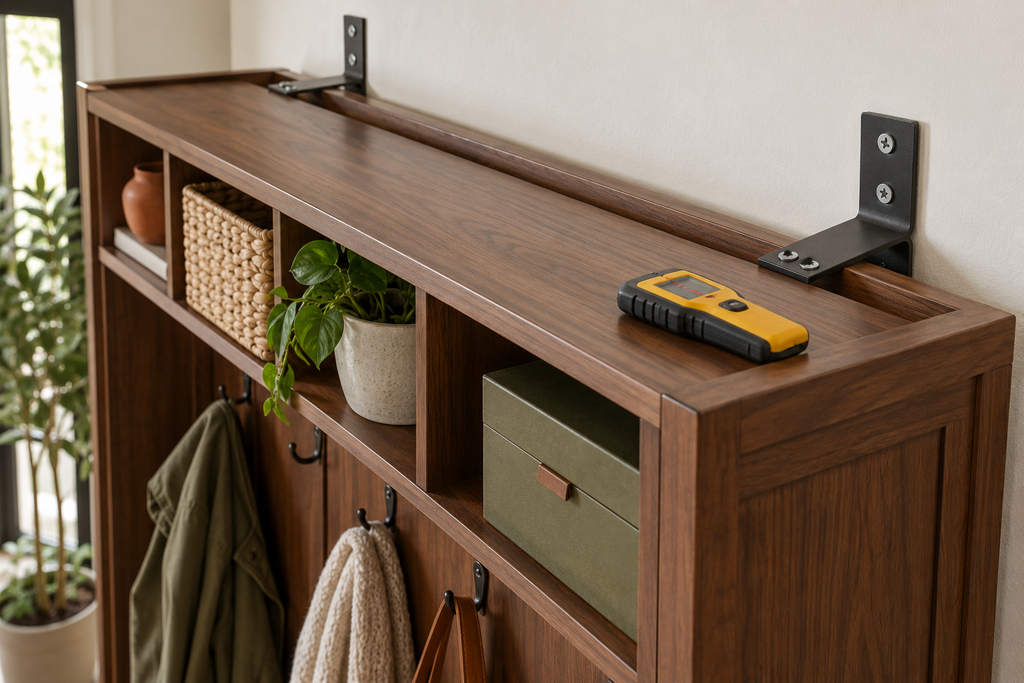
A tall hall tree with drawers, shelves, and loaded hooks can become top-heavy. It may also be pulled, climbed on, or used for support. The U.S. Consumer Product Safety Commission advises securing top-heavy furniture and following the manufacturer’s anchoring instructions, particularly in homes where children live or visit.
Anchoring should therefore be part of the design rather than a last-minute addition. The attachment method must suit the hall tree’s construction, wall type, available framing, selected hardware, and expected forces. A generic screw is not appropriate for every wall.
Locate framing and check for concealed utilities before drilling. Do not assume that every electronic stud-finder indication represents usable framing. If the wall construction or the location of plumbing and wiring is uncertain, use a qualified installer. Renters and residents of condominiums or cooperatives should obtain any required written permission before making wall penetrations.
After installation, confirm that the unit does not rock, rack, or pull away from the wall. Recheck anchors, hooks, hinges, and drawer hardware periodically, especially after the piece has been moved or subjected to heavy use. Children should not be allowed to climb on the bench, drawers, hooks, or shelves.
Finish With Organization, Not Decoration Alone
Once the hall tree is installed, assign storage according to frequency and user. Everyday shoes and coats should be easiest to reach. Seasonal accessories can go in labeled baskets or upper compartments. A washable boot tray can protect the cabinet and floor from moisture, while removable drawer organizers keep small objects from becoming another layer of clutter.
Leave some capacity unused. A hall tree packed to its limit on the first day has little room for guests, seasonal clothing, or changes in routine.
The strongest custom design is not necessarily the most elaborate one. It is the piece that fits the entryway, supports its intended loads, keeps circulation clear, and makes daily belongings easy to put away. Careful measurement and a realistic construction plan will do more for the finished result than decorative details added to an unresolved structure.